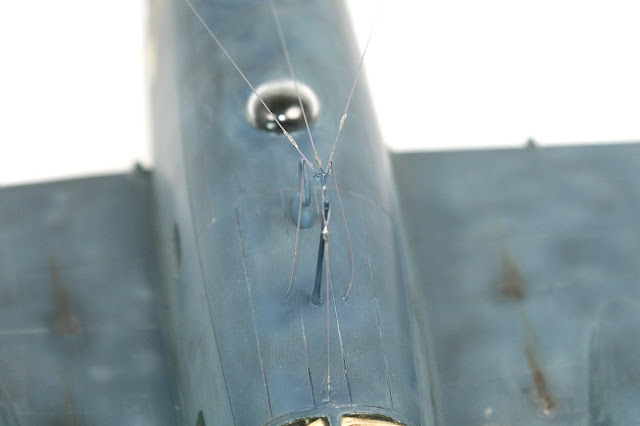
Armed with this I built a little scratch built triangular antenna attaching plate for the 3 antennas coming from the mast. A 0.080" inch micro drill was used to drill the 4 holes. Ezy Line was used for the antenna. I like this because, although it flat and not round it is very elastic, and thus tolerant of clumsy handling.
The Ezy line was threaded through the holes in the plastic antenna attaching plate, 1 piece for the centre antenna, and 1 piece looped though the holes for the 2 tail antennas. These were cut a bit shorter than the required length. The antenna attaching points were drilled in the tail and just forward of the turret. The Ezy line was then inserted and secured with a drop of CA. The loop from the forward hole of the plastic spreader was then placed over the mast.
Another short piece of Ezy line had a loop formed in the end, CA being used to secure the loop. The end of the Ezy line (without the loop was secured into it's hole just aft of the cockpit. The loop was placed over the mast and secured with a drop of CA.
Finally the antenna fly leads glued to the 2 tail antennas. Once dry the other end was inserted into the aircraft. A quick touch up of these areas with the airbrush carried out to hide the glue marks.
Vallejo Oily steel paint was used for the antenna and guy wire tensioners. This paint is really thick out of the bottle so I just layered it on in the appropriate places.

The aft turret was then secured with a couple of drops of CA

The Loon Propellers were painted silver then black, I then tried to rub of the black to expose the silver. This didn't work as well as I'd hoped. I resorted to using the sponge technique to apply some metallic paint to the leading edges. These were positioned on the aircraft and secured with CA.


Finally she is ready for the cabinet (After I take some photos of the completed model)


No comments :
Post a Comment